How To Find a Vacuum Leak: Identify, Fix & Prevent Performance Loss
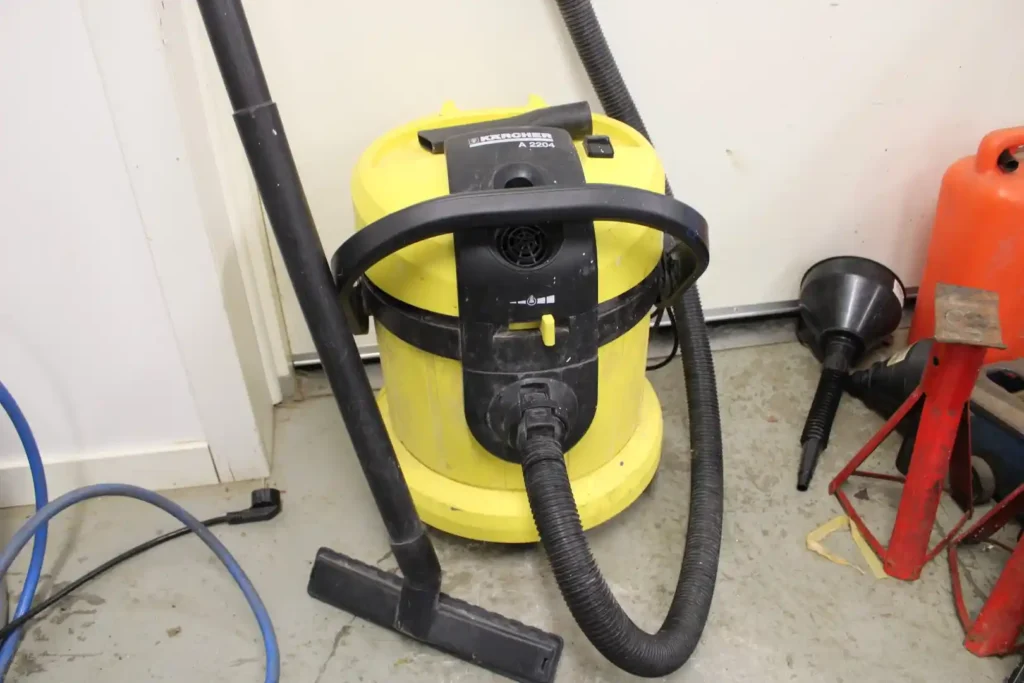
It is quite annoying when you are halfway through cleaning a big space and your vacuum cleaner ceases to work. Either a commercial outfit of a janitorial or a home floor clean up, a vacuum leak will decrease efficiency, wastage of energy, and leave a dirty floor.
Luckily, it is not a complex matter to know how I can find a vacuum leak. By being able to restore the lost power of your vacuum machine and prevent future problems, you can clean your floors with high-performance equipment and the right steps.
This manual will take you through the symptoms, the inspection process, and the remedies of vacuum leak repair, as well as the need to replace it with a sturdier commercial one.
When learning how to find a vacuum leak, it is important to inspect the complete airflow path rather than focusing only on the hose. Air may escape through attachments, seals, filter compartments, dust bags, canister lids, or damaged housing. A systematic inspection makes it easier to identify the actual source of suction loss without replacing working components unnecessarily.
Key Takeaways
- A vacuum leak can reduce suction, increase motor strain, and allow dust to escape back into the cleaning area.
- Hoses, attachments, filters, dust bags, seals, gaskets, and housing joints should all be checked during an inspection.
- Temporary sealing may help with a minor hose crack, but damaged components usually need proper repair or replacement.
- Routine inspections and filter maintenance can prevent small airflow problems from causing expensive equipment damage.
- Persistent suction loss, overheating, burning odors, or a cracked housing may indicate that professional service or replacement is necessary.
Why Vacuum Leaks Happen and Why They Matter
A vacuum leak occurs when air escapes from your vacuum cleaner before it passes through the filter and dirt collection chamber. This loss of pressure directly reduces suction power, making cleaning inefficient.
Leaks may occur due to broken hoses, loose fittings, ripped gaskets or blocked filters. These minor problems may eventually undermine the functionality of your equipment – even when it is a high-quality business model.
The industrial vacuum and floor cleaning machines are designed using airtight lids and hard materials that can withstand wear and tear, lessening the chances of leakages and loss of suction in extreme settings.
Common Signs of a Vacuum Leak
Before you start disassembling your machine, look for these warning signs:
- Weak or inconsistent suction power
- Hissing or whistling noises during use
- Dust or debris escaping from the housing
- Overheating or motor strain
- Persistent bad odors, especially mildew-like smells
If these symptoms sound familiar, your vacuum likely needs inspection and a possible vacuum hose leak repair.

Step-by-Step Guide: How To Check For Vacuum Leaks
Finding where the leak originates is essential before you can fix vacuum leak issues. Here’s a step-by-step breakdown to help you pinpoint the problem efficiently.
Step 1: Inspect the Hose and Attachments
Start with the most common culprit—the hose. Detach it from your vacuum and run your hand along its length. Look for cracks, holes, or tears, especially at connection points.
In case you do not know where the air is leaking, spray a hose with a soapy water and sprinkle it a little as the vacuum operates. Around the leak, bubbles will be formed.
After finding the damage, you need to choose either a temporary fix vacuum hose using strong duct tape or you may choose to have a professional vacuum hose repair. To achieve long-lasting results, it is worth replacing it with a high-quality replacement hose.
Step 2: Check the Filter and Dust Bag
A blocked or broken filter may simulate a vacuum leak by blocking the flow of air. Take off and examine your filters for tearing, discoloring, and excessive debris.
When you use bagged vacuums, make sure that the dust bag is well-fitted and closed. The slightest looseness of connection will result in air escaping the filter system.
Commercial Upright vacuum cleaners with HEPA filtration systems and designed to retain air more effectively, and easily maintain them should be used to reduce the chances of developing false leak symptoms.
Step 3: Examine the Seals and Gaskets
Next, inspect all seals and rubber gaskets around the canister, motor housing, and connections. These parts naturally wear out over time and lose their flexibility.
When they become brittle or compressed, they no longer create an airtight seal, resulting in suction loss. Replace these components immediately using manufacturer-approved parts or contact for professional maintenance support.
Step 4: Listen for Hissing or Whistling Sounds
A subtle yet effective trick when learning how can I find a vacuum leak is to listen carefully while the machine is running.
Place your hand near seams, joints, or hose connections. If you feel air escaping or hear hissing, that’s your leak source.
Wide area vacuum cleaners are designed for quiet operation, making it easier to detect irregular airflow without background motor noise interference.
Step 5: Use the Smoke or Incense Test
For tricky or invisible leaks, use the smoke test. Turn off and unplug the vacuum. Light a stick of incense or a smoke pen and move it slowly along the hose, seams, and connections.
When smoke wafts or gets pulled into an area, you’ve found a suction leak. Once identified, proceed to repair vacuum leak by sealing small gaps with electrical tape or silicone, or by replacing damaged components.

How to Fix a Vacuum Leak and Prevent Future Issues
Once you’ve located the problem, here’s how to properly fix vacuum leak issues for both short- and long-term reliability.
a. Replace or Repair Damaged Hoses
In case of a crack or a puncture, a vacuum hose may be temporarily fixed with duct tape. Nevertheless, in case the damage is close to the connector or tearing is numerous, it is the safest alternative to change it.
Problems with vacuum hoses can also be easily solved with heavy-duty replacement hoses, which are made to last a long time and are not easily ripped. Check our Vacuum Canisters Collection for durable replacements designed for commercial performance.
b. Reseal or Replace Gaskets and Filters
Air can also escape through worn seals or loose filters. Replace gaskets every few months to ensure airtight performance.
The industrial vacuums come with reinforced sealing technology and multi-stage filtration systems, minimizing the need for constant maintenance while maximizing cleaning efficiency.
c. Perform Regular Maintenance
Routine care is the easiest way to prevent leaks from returning. Clean filters weekly, inspect hoses monthly, and check all joints and seals after heavy use.
Consider scheduling periodic maintenance with expert professionals to keep your floor cleaning machines performing at peak levels. Our backpack vacuum cleaners are the best for mobile use.
Advanced Maintenance Tips for Professionals
In the event you run a janitorial business or other large cleaning contract, you need to be able to take care of your vacuums in order to be productive.
- Clean and Dry Equipment Thoroughly: Deep Clean and dry out equipment with air movers to make sure no moisture is left in the vacuum parts. The accumulation of moisture may make seals weak and enable the growth of molds.
- Use Quality Floor Cleaning Machines: The combination of vacuum cleaners, carpet extractors, and floor scrubbers efficiently provides cleaning services that are spotless and free of leaks.
- Document Maintenance Checks: A record of all the inspections and filter changes should be maintained to identify problems at an early stage and prevent the expense of repairing in the future.

When to Replace vs. Repair Your Vacuum
Sometimes, even the best vacuum hose leak repair or vacuum hose repair can’t save an aging unit. Here’s how to know when it’s time to upgrade:
- Cracked motor housing or worn-out seals beyond replacement
- Motor overheating or burning smell
- Persistent suction loss even after cleaning filters and replacing hoses
- Outdated design lacking efficient sealing technology
In such cases, replacing your old vacuum with a Pressure King Inc. model is more cost-effective. Their latest commercial vacuum cleaners feature superior suction, advanced filtration, and precision-engineered seals—built to prevent future leaks.
Check out Pressure King Inc.’s vacuum collection for powerful, low-maintenance options ideal for both commercial and industrial applications.
Common Mistakes When Checking for Vacuum Leaks
Avoiding common inspection and repair mistakes can help you locate the actual problem, protect the vacuum’s components, and restore suction more effectively.
- Assuming every suction problem is a vacuum leak: Full dust bags, clogged filters, blocked hoses, tangled brush rolls, and incorrectly fitted attachments can produce symptoms similar to a vacuum leak.
- Attempting repairs before checking for blockages: Inspect and clean the filters, hose, dust bag, brush roll, and attachments before beginning a vacuum leak repair.
- Applying tape or sealant without locating the leak: Sealing the wrong area may restrict airflow or conceal damage that requires component replacement.
- Inspecting components without a clear process: When learning how to check for vacuum leaks, follow the complete airflow path and examine one component at a time.
- Ignoring electrical safety: Always unplug the vacuum before removing filters, opening the housing, checking internal parts, or performing repairs.
How a Vacuum Leak Affects Cleaning Performance
Even a small vacuum leak can reduce the pressure needed to collect dust, hair, and debris effectively. As suction decreases, operators may need to pass over the same area repeatedly, increasing cleaning time and energy use. Continued operation may also place additional strain on the motor, particularly when the machine is used for demanding commercial cleaning tasks.
Ignoring the problem can eventually result in overheating, poor filtration, escaping dust, and premature equipment failure. Completing a timely repair vacuum leak procedure helps restore consistent suction and protects other components from unnecessary wear. If performance does not improve after the hose, filters, bag, seals, and attachments have been inspected, professional diagnosis may be necessary.
Vacuum Leak Prevention and Maintenance Schedule
Preventive maintenance makes it easier to detect wear before suction performance declines. Filters and dust bags should be checked frequently, especially when equipment is used in dusty commercial settings. Hoses and attachments should also be examined for cracks, loose fittings, obstructions, and worn connection points.
A simple maintenance record can document filter cleaning, bag replacement, hose inspection, gasket checks, and reported performance problems. The correct schedule depends on operating hours and working conditions, but machines used daily may require weekly airflow checks and more detailed monthly inspections. Following the manufacturer’s maintenance guidance can also protect the equipment and its warranty.
When to Request Professional Vacuum Leak Repair
Professional vacuum leak repair should be considered when the leak cannot be located through basic inspection or when the machine continues losing suction after the hose, bag, and filters have been checked. Electrical problems, motor damage, internal seal failure, cracked housing, or repeated overheating should be assessed by a qualified technician.
Commercial equipment should also receive professional attention when downtime affects cleaning contracts or facility operations. A technician can test airflow, inspect internal components, and determine whether repair is economically reasonable. If the motor and housing are badly worn, replacing the machine may provide more dependable performance than continuing to repair recurring leaks.
Conclusion
Understanding how can I find a vacuum leak and how to fix vacuum leak problems not only saves money but also extends your vacuum’s lifespan. A properly sealed system means better suction, cleaner results, and longer machine durability.
Whether you need help with how to fix a vacuum cleaner hose or are ready to invest in leak-resistant floor cleaning machines, Pressure King Inc. has you covered.
Explore our premium range of vacuum cleaners, extractors, and air movers to restore performance, reliability, and cleaning power in every environment.
Frequently Asked Questions (FAQs)
What is the easiest way to find a vacuum leak?
The easiest way to find a vacuum leak is to listen for hissing sounds while running your vacuum, then use soapy water or incense smoke to spot escaping air. Check hoses, seals, and filters for damage and replace parts from Pressure King Inc.
What do you spray to check for vacuum leaks?
You can spray a soapy water solution along hoses, seals, and connections to detect leaks. If bubbles form, air is escaping from that area. This method works perfectly for quick vacuum hose leak repair before replacing parts with Pressure King Inc.’s premium accessories.
Where are the most common vacuum leaks?
The most common vacuum leaks occur around the hose connections, filter seals, gaskets, or cracks in the canister. Over time, these areas wear out due to pressure and vibration. Regular inspection using Pressure King Inc. vacuums helps prevent suction loss and costly downtime.
How do you find out where a vacuum leak is coming from?
To find out where a vacuum leak is coming from, power on the vacuum and move your hand or incense smoke near joints, hoses, and seals. Air movement or sound changes reveal the leak’s source, then proceed to fix vacuum leak using genuine replacement parts.
What causes a vacuum hose leak?
Frequent bending, heat exposure, or suction pressure can cause cracks or punctures. Regular inspection and maintenance with Pressure King hoses helps avoid leaks.
How do I fix a vacuum cleaner hose?
You can fix vacuum cleaner hose leaks temporarily with duct tape, but permanent repair requires replacing it with a durable hose designed for your model.
Can vacuum leaks affect performance?
Yes, even minor leaks can cause major suction loss, overwork your motor, and reduce cleaning efficiency. Always inspect your machine if performance drops unexpectedly.
What causes a vacuum hose leak?
Frequent bending, heat exposure, or suction pressure can cause cracks or punctures. Regular inspection and maintenance with Pressure King hoses helps avoid leaks.
How do I fix a vacuum cleaner hose?
You can fix vacuum cleaner hose leaks temporarily with duct tape, but permanent repair requires replacing it with a durable hose designed for your model.

Michael Adeniran is the CEO of Pressure King Inc. He has been dealing in commercial cleaning equipment for many years. He is one of the leading specialists and experts in commercial cleaning products.