
Michael Adeniran is the CEO of Pressure King Inc. He has been dealing in commercial cleaning equipment for many years. He is one of the leading specialists and experts in commercial cleaning products.


Area rugs are more than decorative accents, they protect flooring, absorb sound, and create warmth and comfort in living spaces. However, because they are exposed to daily foot traffic, spills, pet hair, and airborne dust, they can quickly trap dirt and allergens deep within their fibers. Over time, this buildup can dull colors, cause unpleasant odors, and even shorten the rug’s lifespan.
While routine vacuuming helps maintain surface cleanliness, it does not remove embedded dirt and bacteria. Deep cleaning with a carpet cleaner is one of the most effective ways to restore freshness and extend the life of an area rug. When done correctly, it removes stubborn grime while preserving the rug’s texture and color.
This comprehensive guide explains how to clean an area rug with a carpet cleaner step by step, including preparation, cleaning techniques, drying methods, and long-term maintenance strategies. Whether your rug is synthetic, wool, or blended fibers, these professional techniques will help you achieve safe and effective results at home.
Understanding Your Area Rug
Before you introduce water or cleaning chemicals to your rug, it’s critical to understand what it’s made of. Different rug materials react differently to moisture, agitation, and detergents. Cleaning without this knowledge can result in shrinkage, fading, or fiber damage.
Rug Materials and Their Cleaning Needs
- Wool rugs are durable and naturally stain resistant, but they are sensitive to excessive moisture and heat. Hot water can cause wool fibers to shrink or bleed color. Gentle cleaning with mild detergent and minimal water is best.
- Cotton rugs are more forgiving and often washable, but strong chemicals may fade dyes. They absorb water quickly, so thorough drying is essential.
- Synthetic rugs made from nylon, polyester, or olefin are generally the easiest to clean. They resist stains and tolerate most carpet cleaners well, making them ideal for households with pets or children.
- Delicate rugs such as silk, antique, or handwoven pieces should usually be professionally cleaned. Mechanical carpet cleaners may damage fragile fibers.
Checking Labels and Testing Colorfastness
Always check the manufacturer’s care label for cleaning instructions. If no label is available, perform a colorfastness test by applying a small amount of cleaning solution to a hidden area and blotting with a white cloth. If color transfers, use a gentler cleaner or consult a professional.
Understanding your rug prevents costly mistakes and ensures your cleaning approach is safe and effective.
Preparing Your Rug for Cleaning
Proper preparation sets the foundation for a successful deep cleaning session. Jumping straight into wet cleaning without preparing the rug can spread dirt and reduce the effectiveness of your carpet cleaner. Preparing your rug involves removing loose debris, treating visible stains, and selecting a suitable cleaning area.
These steps not only improve cleaning performance but also protect the rug’s fibers during the process. A well-prepared rug allows the carpet cleaner to work more efficiently, delivering more consistent and professional-looking results.
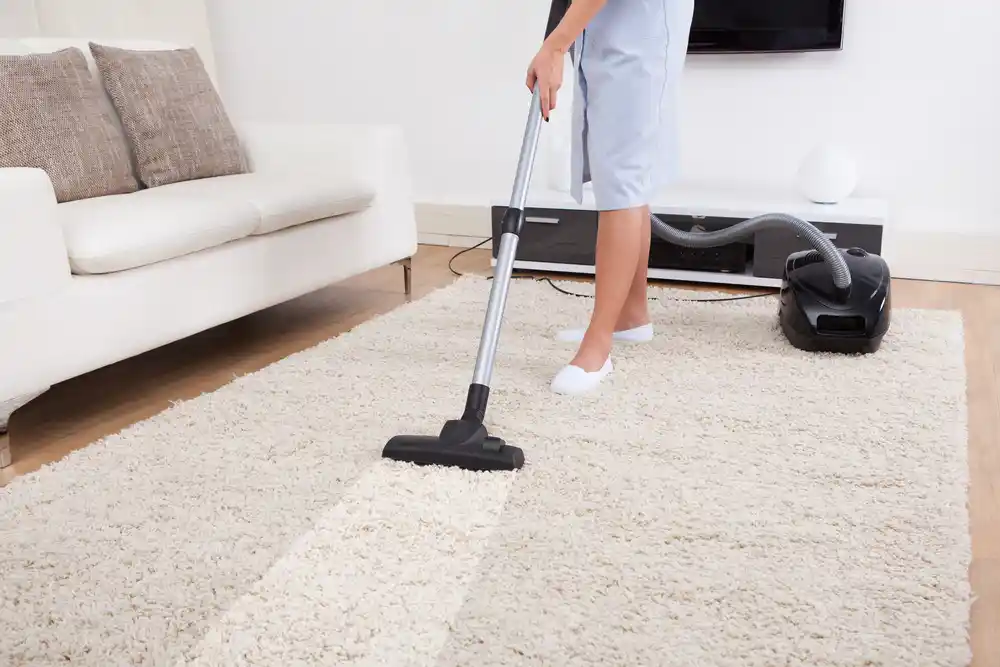
Thorough Vacuuming
Vacuum both sides of the rug to remove loose dirt and debris. Dirt particles can act like sandpaper during wet cleaning, grinding into fibers and causing wear. Use a vacuum cleaner with adjustable height to protect delicate rugs.
Spot Treatment for Stains
Pre-treat visible stains using a rug-safe stain remover. For organic stains like food or pet accidents, enzyme cleaners are effective. For greasy stains, a mild dish soap diluted in water can help break down oils.
Always blot stains rather than rub them. Rubbing spreads the stain and pushes it deeper into fibers.
Selecting a Cleaning Area
Choose a location where the rug can lie flat and dry undisturbed. A garage, laundry room, or covered outdoor space works well. Place a waterproof sheet underneath to protect flooring.
Good airflow is essential, so select a well-ventilated space to speed up drying.
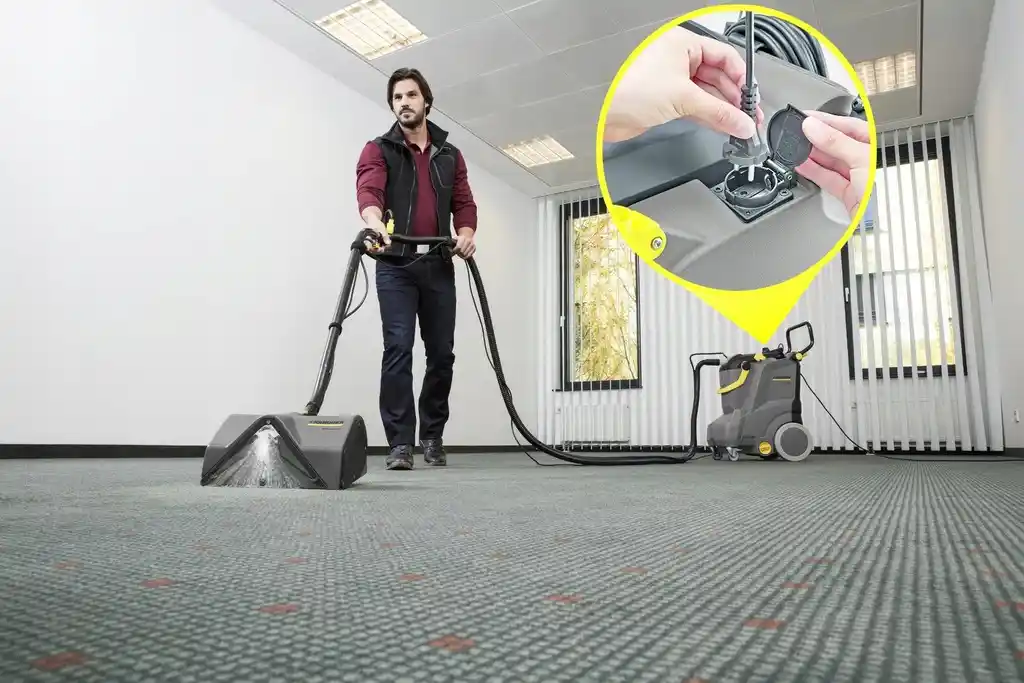
Choosing the Right Carpet Cleaner
Selecting the appropriate carpet cleaner is a key factor in achieving safe and thorough rug cleaning. Not all carpet cleaning machines are designed for every rug type, and using the wrong equipment can lead to over-wetting or fiber damage.
Understanding the different types of carpet cleaners and their features helps you match the machine to your rug’s needs. In addition, choosing a compatible cleaning solution ensures effective stain removal without harming delicate fibers or leaving residue behind.
Types of Carpet Cleaners
- Upright extractors are powerful and ideal for large rugs. They spray water and detergent deep into fibers and extract dirty water efficiently.
- Portable carpet cleaners are useful for smaller rugs or targeted cleaning.
- Steam cleaners use hot water extraction and are effective for sanitizing synthetic rugs but should be used cautiously on wool.
Selecting Cleaning Solutions
Choose a detergent designed for your rug’s material. Avoid bleach or strong alkaline cleaners. Eco-friendly or fragrance-free products are excellent options for households with allergies or pets. Using the wrong solution can weaken fibers or leave sticky residue that attracts dirt.
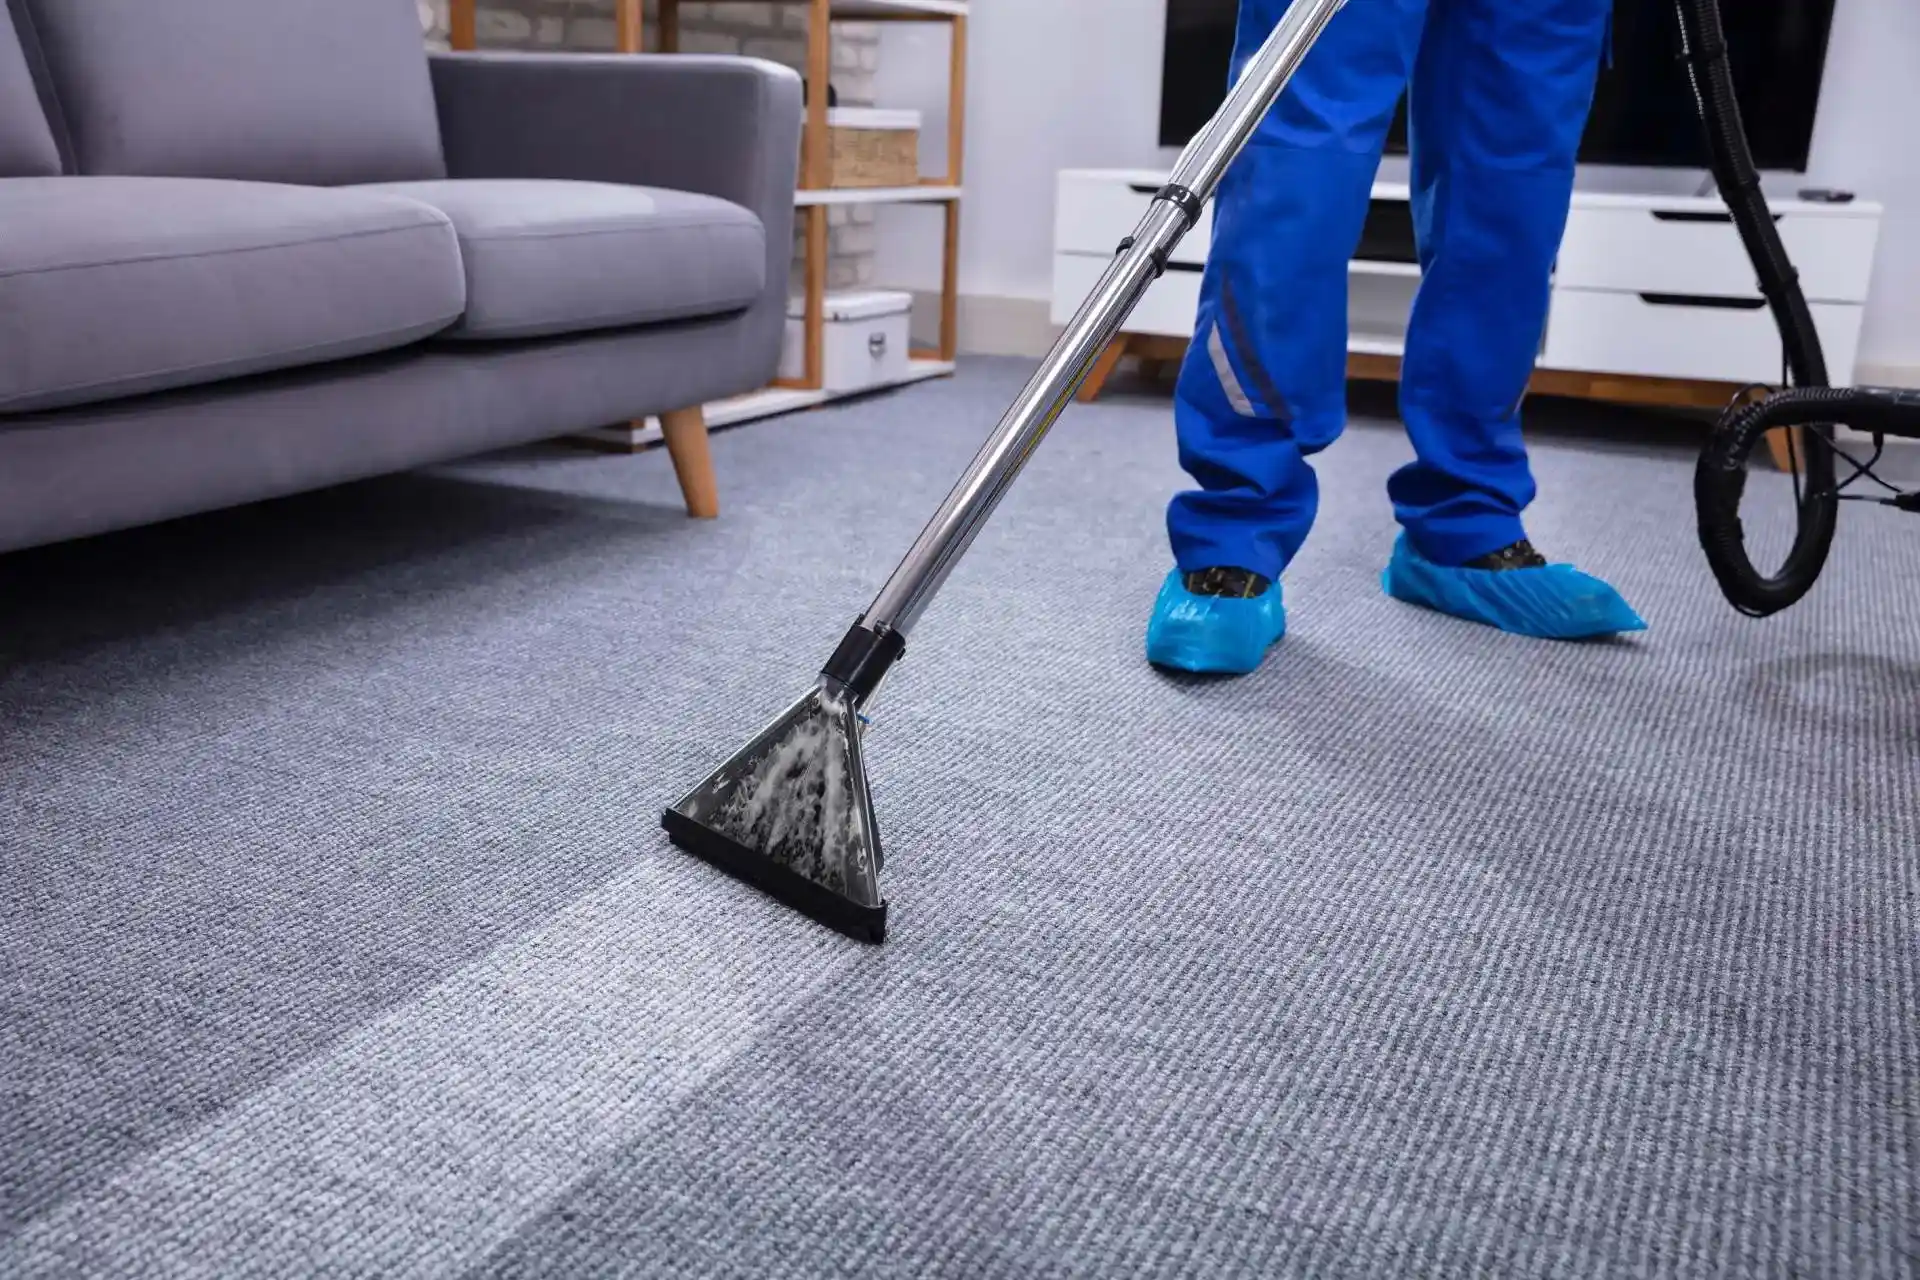
Step-by-Step Cleaning Process
Cleaning an area rug with a carpet cleaner requires a careful, methodical approach to ensure deep dirt removal without damaging the fibers. Following a structured step-by-step process helps you clean evenly, control moisture, and achieve professional-quality results. Each stage builds on the previous one, so taking your time with every step is essential for both effectiveness and safety.
Step 1: Prepare and Fill the Carpet Cleaner
Begin by setting up your carpet cleaner according to the manufacturer’s instructions. Proper preparation ensures smooth operation and prevents issues during cleaning.
- Fill the water tank with warm water (unless your rug requires cold water)
- Add the recommended amount of cleaning solution , avoid overusing detergent
- Secure all machine attachments and tanks firmly
- Position the power cord safely away from wet areas
Using the correct mixture improves cleaning performance and prevents soap residue from remaining in the rug.
Step 2: Test the Cleaner on a Hidden Area
Before cleaning the entire rug, test the carpet cleaner on a small, inconspicuous section, such as a corner or the underside. Run the machine lightly over this area and allow it to dry for a few minutes. Check for color bleeding, fading, or fiber distortion. This test confirms that your cleaning solution and machine settings are safe for the rug. If you notice any negative reaction, adjust the detergent concentration or switch to a gentler cleaning method.
Step 3: Divide the Rug into Manageable Sections
Visually divide the rug into small sections and clean one area at a time. Working in sections ensures thorough coverage and prevents over-wetting. Start from one end of the rug and move systematically toward the other side so you don’t step on freshly cleaned areas. Cleaning in an organized pattern helps maintain consistency and reduces the chance of missing spots.
Step 4: Apply the Cleaning Solution Evenly
Slowly push the carpet cleaner forward to release the cleaning solution into the rug fibers. Use steady, overlapping strokes to distribute moisture evenly.
- Push the cleaner forward slowly to release solution
- Use overlapping strokes for uniform coverage
- Avoid flooding the surface with excess water
- Make extra passes only on heavily soiled areas
For heavily soiled areas, make an extra pass with controlled pressure rather than flooding the surface with water.
Step 5: Agitate the Fibers Gently
If your carpet cleaner has built-in brushes or an agitation feature, allow it to gently scrub the rug as you move the machine. This action helps lift embedded dirt and debris from deep within the fibers. Move at a moderate pace and avoid pressing down too hard, especially on delicate rugs. Gentle agitation improves cleaning effectiveness while protecting the rug’s structure.
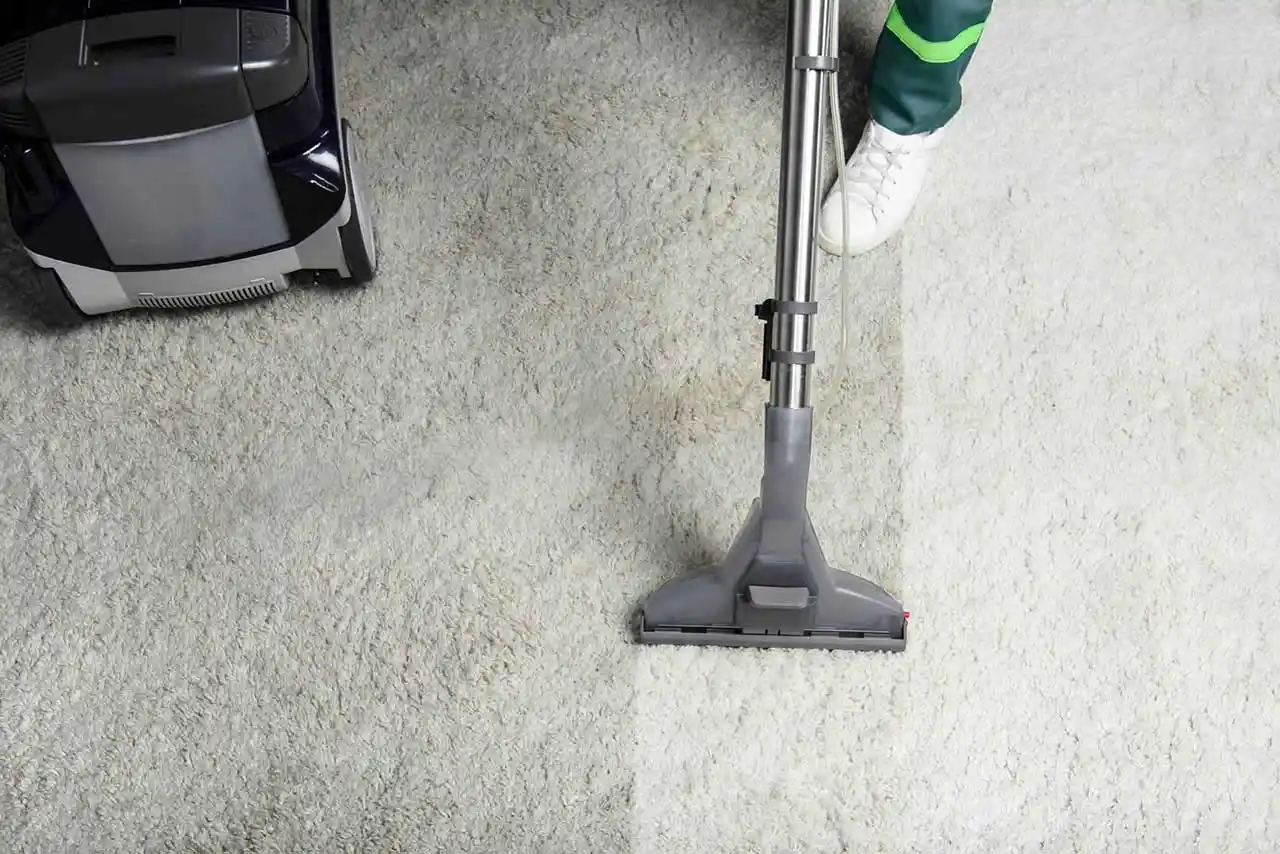
Step 6: Extract Dirty Water Thoroughly
After applying the cleaning solution, pull the machine backward slowly to extract dirty water. This extraction step is critical because it removes loosened dirt and excess moisture. Make multiple dry passes over each section until very little water is being pulled up. Proper extraction speeds up drying time and reduces the risk of mildew or odors developing inside the rug.
Step 7: Rinse with Clean Water (Optional)
For rugs that can tolerate extra moisture, consider a light rinse cycle using clean water only. This step removes any leftover detergent residue that could attract dirt over time. Use minimal water and repeat the extraction process to remove as much moisture as possible. A proper rinse leaves the rug feeling softer and cleaner once dry.
Step 8: Inspect and Repeat if Necessary
Once you’ve cleaned the entire rug, inspect it for any remaining stains or heavily soiled spots. Treat these areas individually with spot cleaner and repeat the cleaning and extraction process as needed. Addressing problem areas immediately prevents stains from setting and ensures a uniform finish across the rug.
By following this detailed step-by-step cleaning process, you can safely deep clean your area rug with a carpet cleaner. Careful application, controlled moisture, and thorough extraction are the keys to restoring your rug’s appearance while maintaining its durability.
Drying Your Rug Properly
Drying is one of the most critical stages of rug cleaning, yet it is often overlooked. A rug that remains damp for too long can develop mildew, unpleasant odors, or long-term fiber damage. Proper drying techniques help preserve the rug’s structure, maintain its appearance, and prevent moisture from seeping into the backing or flooring beneath. Taking extra care during this stage ensures your cleaning efforts deliver safe and lasting results.
Air Drying Techniques
Air drying is the safest and most effective method for most area rugs. Proper positioning and airflow are essential for even drying.
- Lay the rug flat in a well-ventilated area such as a garage or covered outdoor space
- Alternatively, hang it evenly over a sturdy railing or drying rack
- Flip the rug occasionally to allow both sides to dry uniformly
- Smooth out wrinkles to prevent creases from forming
Ensuring steady airflow around the entire rug helps moisture evaporate more efficiently.
Speeding Up Drying
If you want to reduce drying time, controlled airflow can help without harming the rug.
- Use fans to keep air circulating across the surface
- Place a dehumidifier nearby to remove excess moisture from the air
- Open windows to improve natural ventilation when weather permits
- Avoid heaters or direct sunlight, which can weaken fibers or cause fading
Allow the rug to dry completely , typically 12 to 24 hours, depending on thickness and humidity , before placing it back indoors. Confirm that both the surface and underside feel fully dry to the touch to prevent hidden moisture problems.
Maintaining Your Rug Between Deep Cleanings
Regular maintenance keeps your area rug looking fresh and reduces the need for frequent deep cleaning. Everyday care practices such as vacuuming, prompt stain treatment, and proper placement extend the rug’s lifespan and preserve its appearance. Consistent maintenance prevents dirt from becoming deeply embedded in the fibers, making future cleaning easier and more effective.
Routine Vacuuming
Vacuuming regularly prevents dirt from embedding deep into rug fibers. Aim to vacuum weekly and more often in high-traffic areas. Use gentle suction or a brushless attachment for delicate rugs. Consistent vacuuming helps maintain your rug’s appearance and extends its lifespan.
Immediate Spill Response
Handle spills immediately to prevent stains from setting. Blot gently with a clean, absorbent cloth, working from the edges inward. Avoid rubbing, as it can spread the stain and damage fibers. Quick action protects your rug’s color and texture.
Rotating the Rug
Rotate your rug every few months to distribute wear evenly and reduce fading from sunlight. This simple step helps maintain a balanced appearance and prevents certain areas from wearing out faster than others.
Using Rug Pads
Rug pads reduce friction, improve airflow, and prevent slipping. They protect both the rug and the floor while adding extra cushioning. Using a pad can significantly extend your rug’s life.
Professional Cleaning Schedule
Schedule professional cleaning every 12–18 months, especially for high-quality or delicate rugs. Professional care removes deep dirt and preserves the rug’s structure and appearance.
Common Challenges to Clean Area Rugs
Cleaning an area rug with a carpet cleaner can be highly effective, but several challenges may arise if you’re not prepared. Different rug materials, cleaning methods, and environmental factors can affect the final outcome. Understanding these common issues helps you avoid damage and achieve better results.
- Over-Wetting the Rug: Using too much water or cleaning solution can soak through the rug and into the backing. Excess moisture may lead to mildew, odors, or floor damage. Controlled water use and proper extraction are essential.
- Color Bleeding: Some rugs, especially handmade or brightly dyed ones, may release color when exposed to moisture. Always test a small hidden area before full cleaning to prevent discoloration.
- Residue Buildup: Leaving behind soap residue can attract dirt and make the rug feel stiff. Thorough rinsing and proper machine settings help avoid sticky buildup.
- Uneven Cleaning: Inconsistent passes with the cleaner may create patchy results. Working in slow, overlapping strokes ensures uniform cleaning.
Mistakes to Avoid
Even small mistakes during rug cleaning can reduce effectiveness or cause long-term damage. Being aware of common errors helps protect your rug and improves cleaning efficiency.
- Using the Wrong Cleaning Solution: Not all detergents are suitable for every rug type. Harsh chemicals can weaken fibers or fade colors. Always choose a cleaner recommended for your rug material.
- Scrubbing Too Aggressively: Excessive scrubbing can damage fibers and distort the rug’s texture. Let the machine and cleaning solution do the work instead of applying force.
- Skipping the Vacuuming Step: Cleaning without vacuuming first pushes loose dirt deeper into the fibers. Always remove surface debris before using a carpet cleaner.
- Ignoring Manufacturer Instructions: Every rug has specific care guidelines. Ignoring these recommendations can lead to shrinkage or fiber damage.
- Rushing the Drying Process: Placing a damp rug back on the floor too soon traps moisture underneath. Always allow full drying to prevent mold and odors.
Conclusion
Cleaning an area rug with a carpet cleaner is a practical way to maintain beauty, hygiene, and longevity. By understanding your rug’s material, preparing properly, using the correct machine, and drying thoroughly, you can achieve professional-quality results at home.
Regular maintenance, prompt stain treatment, and occasional deep cleaning keep rugs fresh and vibrant for years. When handled carefully, carpet cleaners are powerful tools that restore appearance without compromising delicate fibers.
With the techniques outlined in this guide, you can confidently clean your area rugs and maintain a healthier, more attractive living space.
Frequently Asked Questions
Can you clean an area rug with a carpet cleaner?
Yes, you can clean an area rug with a carpet cleaner, but only if the rug material is compatible with machine cleaning. Synthetic rugs like polypropylene or nylon respond well to carpet cleaners, while delicate materials such as wool, silk, or antique rugs may require professional or low-moisture cleaning methods.
How do you clean an area rug with a carpet cleaner properly?
To clean an area rug with a carpet cleaner, first vacuum both sides of the rug to remove loose debris. Pre-treat stains with an appropriate solution, then use the carpet cleaner with the correct detergent and low moisture setting. Allow the rug to dry completely before placing it back on the floor to prevent mold or odor.
What type of carpet cleaner is best for area rugs?
For commercial and industrial use, a professional-grade extractor or low-moisture carpet cleaning machine is recommended. These machines provide controlled water flow, strong suction, and faster drying times, reducing the risk of over-wetting the rug.
Is it safe to use a carpet cleaner on all area rugs?
No, not all rugs are safe for machine cleaning. Always check the manufacturer’s care label. Natural fiber rugs, hand-knotted rugs, and antique pieces can shrink, bleed color, or get damaged if cleaned with high water pressure.
How often should you clean an area rug with a carpet cleaner?
In residential settings, deep cleaning every 6–12 months is usually sufficient. In commercial and industrial environments with heavy foot traffic, area rugs may require professional cleaning every 3–6 months to maintain hygiene and appearance.
Can cleaning an area rug with a carpet cleaner remove tough stains?
Yes, a carpet cleaner can effectively remove dirt, mud, food stains, and light oil marks when combined with the correct cleaning solution. However, stubborn stains such as ink, dye transfer, or pet damage may require specialized spot treatment.
How long does it take for an area rug to dry after carpet cleaning?
Drying time depends on humidity, ventilation, and the amount of water used. Typically, rugs take 4–8 hours to dry completely. Using industrial air movers or air blowers can significantly speed up the drying process.
What are the risks of using too much water when cleaning an area rug?
Over-wetting can cause:
Mold and mildew growth
Fiber damage or shrinkage
Color bleeding
Odor buildup
Using a commercial extractor with strong suction helps prevent these issues.